11-Oct-2017
8203236300
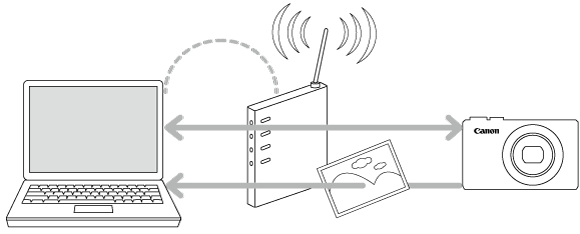
 icon, and camera setting procedures are indicated by the
  icon.
icon. Download the CameraWindow software from the Canon website and install it on the computer.
  1. Click the Start button (
  ) on the bottom left of the screen to display the menu.
 2. Select [Canon Utilities].
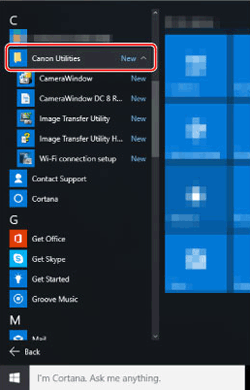
 3. Select [Wi-Fi connection setup].
 4. The following screen is displayed, so click [Yes].
 5. The following screen appears, so click [OK].
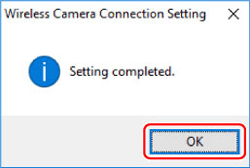
 6. The screen shown below is displayed, so click [Close].
 1. Press the [
  ] button.
 2. If the [Device Nickname] screen is displayed, press the [
  ], [
], [  ] buttons to choose [OK], and then press the [
  ] button.
 3. Press the[
  ], [
], [  ], [
], [  ], [
], [  ] buttons to choose [
  ], and then press the [
  ] button.

 4. Press the [
  ], [
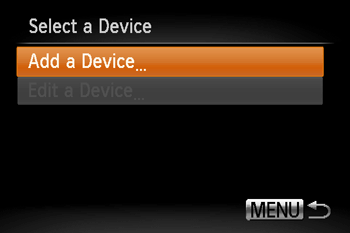
], [  ] buttons to choose [Add a Device], and then press the [
  ] button.
 5. Right-click the Start button on the bottom left of the screen (
  ), and then select [Network Connections].
 6. When this screen is displayed, double-click [Wi-Fi].
 7. Select the SSID that matches with the one shown in [SSID:], and then press the [
  ] button. (See the SSID example below).
 8. Click [Wireless Properties].
 9. Click the [Security] tab.
 10. Tick the [Show characters] checkbox.
 11. Press the [
  ], [
], [  ] buttons to choose the password entry field, and then press the [
  ] button.
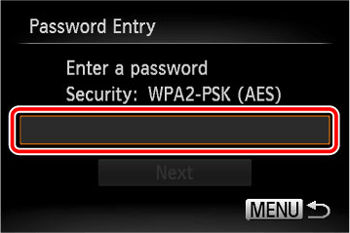
 12. Enter the password displayed in the [Network security key].
 ], [
], [  ], [
], [  ], [
], [  ] buttons to choose a character, and then press the [
  ] button.
 ] or [
  ] and press the [
  ] button.
 ] and press the [
  ] button to delete the previous character.
 13. After you have finished entering the encryption key, press the [
  ], [
], [  ] buttons to choose [Next], and then press the [
  ] button.
 14. Click [Cancel].
 15. Click [Close].
 16. Close [Network Connections].
 17. Press the [
  ], [
], [  ] buttons to choose [Auto], and then press the [
  ] button.
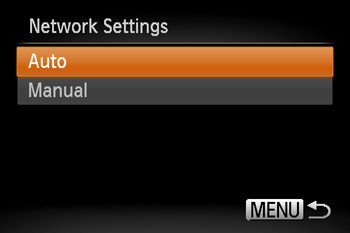
 18. Press the [
  ], [
], [  ] buttons to choose the name of the computer you want to connect with, and then press the [
  ].
].
 19. Make sure that the [Connecting] screen is displayed.
 20. Right-click the Start button on the bottom left of the screen (
  ), and then select [Control Panel].
 21. Click [Add a device].
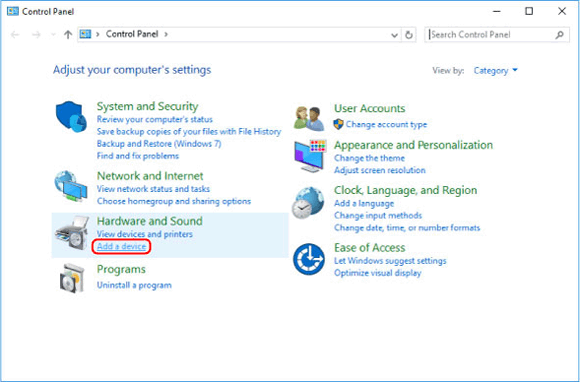
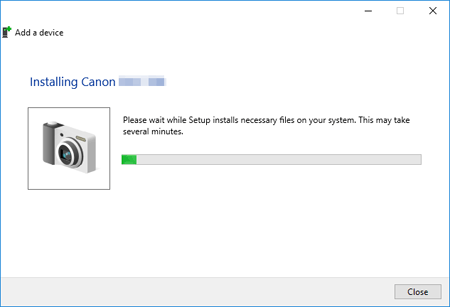
 22. The camera’s icon will be displayed in the [Add a device] screen. Double-click the icon to begin driver installation.
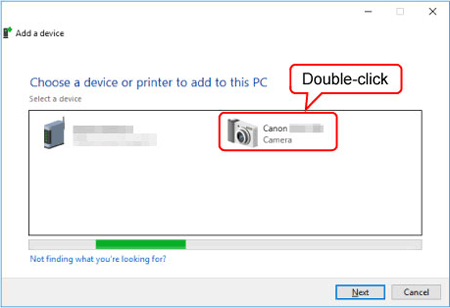
 23. Driver installation begins.
 1. Click the Start button (
  ) on the bottom left of the screen to display the menu, and then select [CameraWindow].
 2. Click [Import Images from Camera].
 3. Select and click one of the following:
  [Import Untransferred Images],
  [Select Images to Import] or
  [Import All Images].
 4. If you chose [Select Images to Import] in Step 3,
  : select the images you want to import, and then click
  : [Import] (
  ).
).
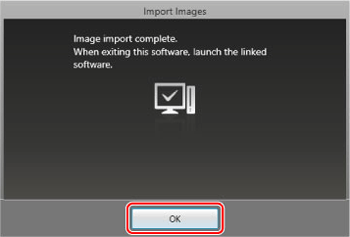
 5. The following window will appear, and the computer will start to transfer images from the camera.
 6. Click [OK].
 7. Close [CameraWindow].
 8. A folder with the images you saved will open.