
Scanning Film with Scanner Buttons
Solution
Scanner buttons allow you to scan film with just a press of a button.
Select [Film] or [Auto mode] from [Select Source] at each settings window of CanoScan Toolbox if you cannot scan film, and then click [Apply].

IMPORTANT
- This procedure requires the use of a separately available printer. For instructions on setting up your printer, see the operation manual that came with the printer.
The [Copy] window of CanoScan Toolbox is displayed, and the scanning starts. The scanned images for all the frames in the film strip are printed out automatically at the photo size (4" x 6") by default.
The [Photo] window of CanoScan Toolbox is displayed, and the scanning starts.
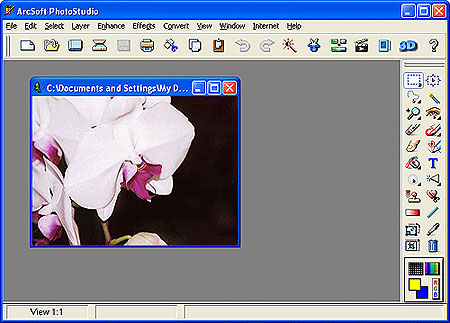
The scanned images for all the frames in the film strip are opened in ArcSoft PhotoStudio.
<Windows>
<Macintosh>

IMPORTANT
- The [COPY] and [PHOTO/FILM] buttons are set to work in conjunction with CanoScan Toolbox. If you want to change the scanner button settings, click [Cancel] while the film is being scanned, and change the settings as needed on CanoScan Toolbox window.
- You cannot scan film with [E-MAIL] or any of the [PDF] buttons.