Solution
Calibration is required when film is first scanned. Calibration is the process to adjust to the correct color balance.
(The operation in ArcSoft PhotoStudio and the Simple Mode of ScanGear CS is used as an example. )
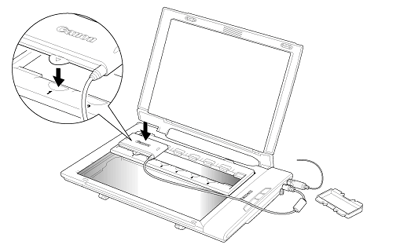
1. Open the document cover. Remove the cap from the film adapter unit and gently set the film adapter unit over the first frame in the film guide.
・Do not place a film.
・Align the tab on the film adapter unit with the film guide.
CAUTION
・Dust, dirt or scratches on the light panel of the film adapter unit may affect image quality or damage the film.
・Be careful not to lose the cap or to allow dirt into it.
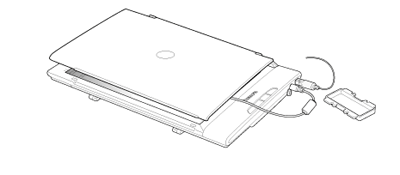
2. Gently close the document cover.
The document cover does not touch the document glass completely. Be careful not to force the document cover down.
3. Start ArcSoft PhotoStudio.
Windows:
Click the [Start] menu and select [(All) Programs] - [ArcSoft PhotoStudio 5.5], and click [PhotoStudio 5.5] to start ArcSoft PhotoStudio.
Macintosh:
Open [Applications] - [PhotoStudio] folders, then double-click the [PhotoStudio] icon to start ArcSoft PhotoStudio.
Click the Acquire icon or click the [File] menu and select [Acquire].
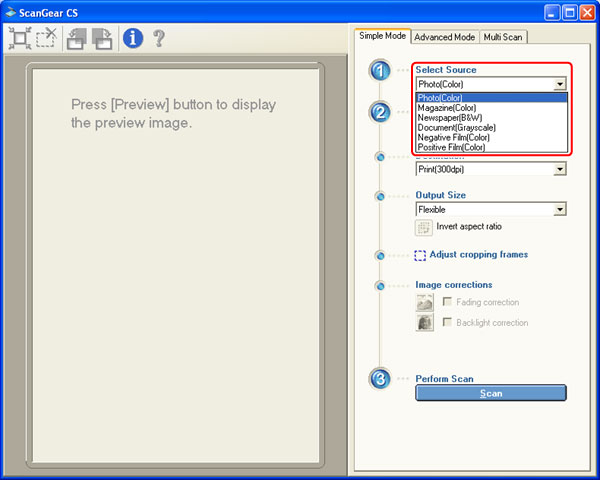
5. Select a Select Source option.
Select [Negative Film(Color)] or [Positive Film(Color)].
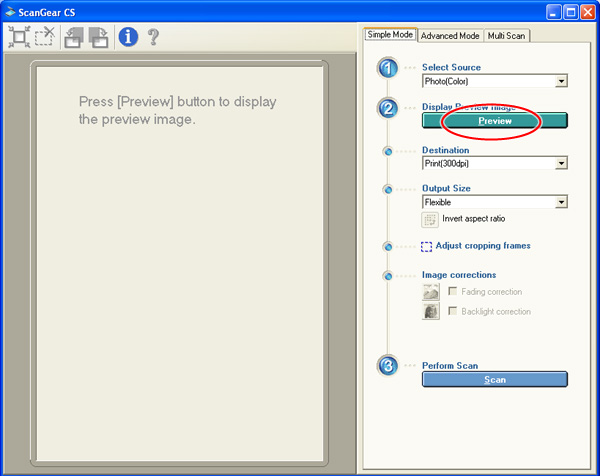
6. Click [Preview] to execute calibration.
7. When the message "The scanner will clear the preview image to execute calibration." is displayed, click the [OK] button.
The calibration process will start.
It takes approximately 1 to 2 minutes.
The calibration process is finished when the message disappears.
CAUTION
Do not touch the scanner while it is operating, or the image may blur and not be scanned correctly.