
Processing RAW Images on the Camera (PowerShot G7 X Mark II)
Solution
You can process RAW images on the camera.
Save RAW images as JPEG images while leaving the originals.
IMPORTANT
- Images processed on the camera and the ones processed using Digital Photo Professional will not be exactly the same.
1. Press the [  ] button.
] button.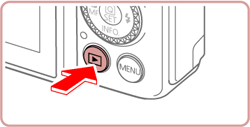
- Playback screen is displayed.
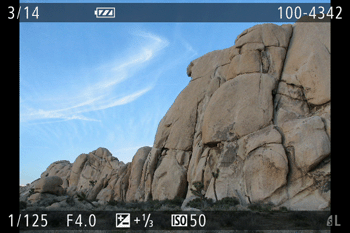
2. Press the [  ] , [
] , [  ] buttons to choose a RAW image.
] , [ ] buttons to choose a RAW image.
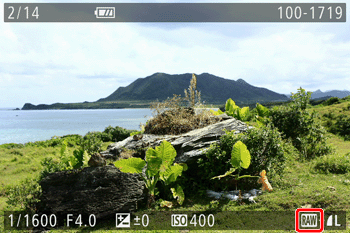
3. Press the [  ] button and choose [
  ](
]( ) in the menu by pressing the [
  ] , [
] , [  ] buttons.
] button and choose [ ]() in the menu by pressing the [ ] , [ ] buttons. 
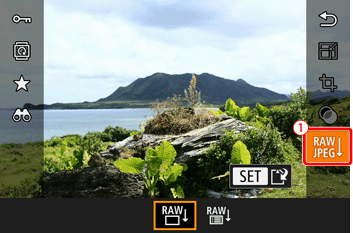
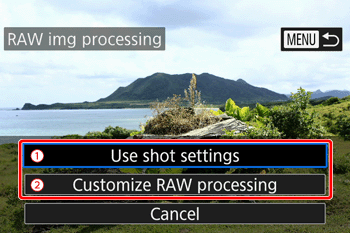
4. Configure the processing method.
Choose : [  (Shot settings) ] or
  : [
: [  ](Customize RAW processing) ] by pressing the buttons [ ] , [ ], and then press the [ ] button.
: [ (Shot settings) ] or : [ ](Customize RAW processing) ] by pressing the buttons [ ] , [ ], and then press the [ ] button.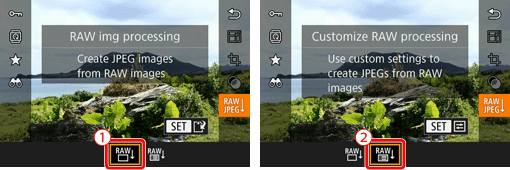 : [ (Shot settings) ], go to step 9.
5. If you choose : [ (Customize RAW processing) ], Advanced Settings screen is displayed.
: [ (Customize RAW processing) ], Advanced Settings screen is displayed.
- Please see the setting options and descriptions below.
| Parameter settings | Description |
|---|---|
 : Brightness : Brightness | Adjust brightsness. |
 : White Balance : White Balance | Choose the white balance. |
 : Picture Style : Picture Style | Choose a Picture Style type. |
 : Auto Lighting Optimizer : Auto Lighting Optimizer | Configure the Auto Lighting Optimizer settings. |
 : High ISO speed NR : High ISO speed NR | Configure the noise reduction settings. |
 : Image quality : Image quality | Configure the image quality when creating JPEG images. |
6. Press the [ ] , [ ] , [ ] , [ ] button to choose the desired setting option, then press the [ ] button.
] , [ ] , [ ] , [ ] button to choose the desired setting option, then press the [ ] button. 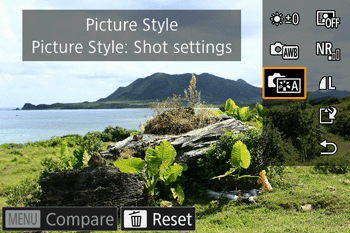
- As an example, [ : Picture Style ] is chosen here.
7. Press the [ ] , [ ] button, then press [ ] button.
] , [ ] button, then press [ ] button.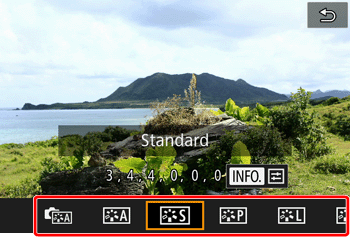
You will return to the screen in step 5.
REFERENCE
For functions with [ INFO. ] displayed, you can configure more advanced settings by pressing the [ ] button.
] button.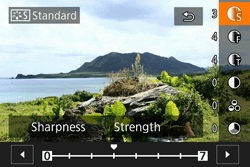
8. When the settings are completed, click the [ ] , [ ] buttons and choose [  : Save ], then press [ ] button.
] , [ ] buttons and choose [ : Save ], then press [ ] button.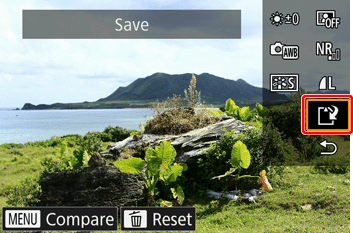
REFERENCE
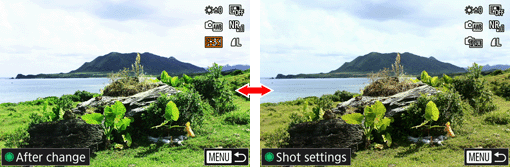
- To compare the image with the shot image, press the [ MENU ] button, and then turn the [
 ] dial. To return to the setting screen, press the [ MENU ] button.
9. Press the [ ] , [ ] button and choose [ OK ], then press [ ] button.
] , [ ] button and choose [ OK ], then press [ ] button. 
NOTE
- Moving the zoom lever toward [
 ] on the screen in step 8 will zoom in and magnify the image.
 - To revert to the settings used for shooting, press the [
 (
( ) ] button on the screen in step 8.
1. Press the [ ] button.
] button.2. Press the [ MENU ] button, and choose [  ] by pressing the [ ] , [ ] buttons.
] by pressing the [ ] , [ ] buttons.

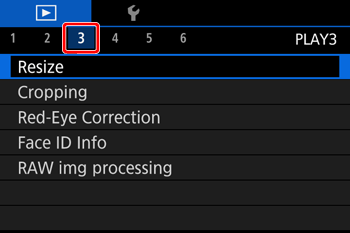
3. Press the [ ] , [ ] button and choose [ RAW img Processing ], then press [ ] button.
] , [ ] button and choose [ RAW img Processing ], then press [ ] button.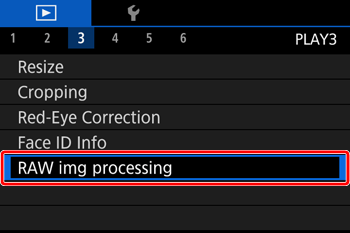
4. Press the [ ] , [ ] button and choose a selection method, then press [ ] button.
] , [ ] button and choose a selection method, then press [ ] button.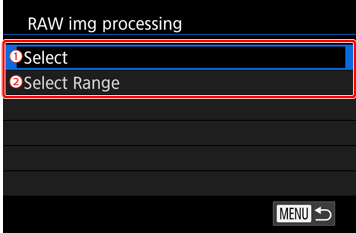 : If you choose [ Select ], go to step step 5A-1 . : If you choose [ Select Range ], go to step step 5B-1 .
5A-1. Only images captured in [ RAW ] format are displayed.
Press [ ] , [ ] button to choose an image for processing, and press the [ ] button.
] , [ ] button to choose an image for processing, and press the [ ] button.
- After you press the [ ] button, [
 ] is displayed in the check box .
NOTE
- To deselect the image, press the [ ] button again. [ ] is no longer displayed.
- Repeat this process to specify other images.
5B-1. Once you choose [ Select Range ] in step 4, the [ First image ] screen is displayed.
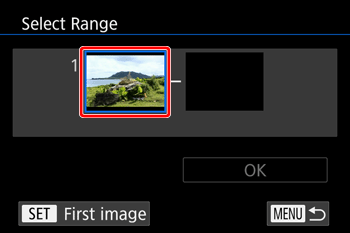
- Press the [ ] button.
5B-2. Press the [ ] , [ ] buttons and choose a starting image, then press the [ ] button.
] , [ ] buttons and choose a starting image, then press the [ ] button.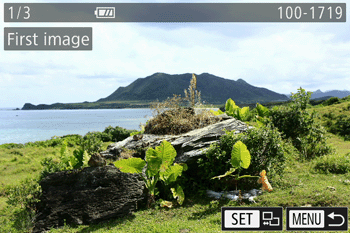
- You will return to the screen in step 5B-1.
5B-3. Press the [ ] button to choose [ Last Image ], then press [ ] button.
] button to choose [ Last Image ], then press [ ] button.

5B-4. Press the [ ] , [ ] buttons to choose an ending image, then press [ ] button.
] , [ ] buttons to choose an ending image, then press [ ] button.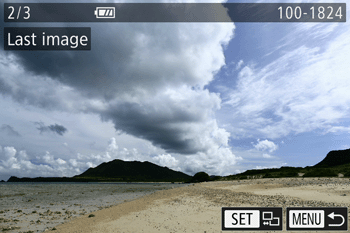
NOTE
- Images before the first image cannot be selected as the last image.
5B-5. After range selection is completed, press the [ ] , [ ] button and select [ OK ], and then press the [ ] button.
] , [ ] button and select [ OK ], and then press the [ ] button.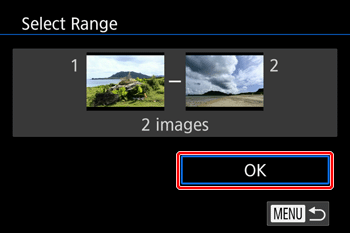
NOTE
- Up to 500 images can be chosen at a time.
6. Press the [ MENU ] button to go to the setting screen and process RAW images.
 : If you choose [ Use shot settings ], refer to step 9 in [ From Playback Mode ] . : If you choose [ Customize RAW processing ], refer to steps 5~9 in [From Playback Mode ].