06-Oct-2017
8203307400
 ] button.
 ] or [
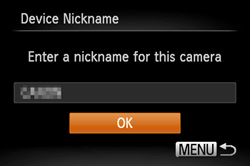
  ] buttons to select the text box, and press the [
  ] button to access the keyboard. After you have finished entering the nickname, press the [MENU] button to return to the registration screen, press the [
  ] or [
  ] button, choose [OK], and then press the [
  ] button.
 ] , [
] , [  ] , [
] , [  ] , [
] , [  ] buttons to choose [
  ], and then press the [
  ] button.
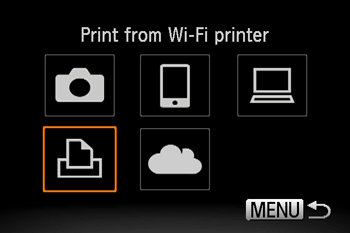
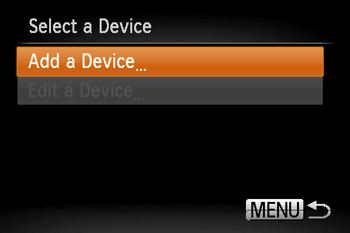
 ] or [
  ] buttons to choose [Add a Device], and then press the [
  ] button.
 ] or [
  ] buttons to choose the device, and then pressing the [
  ] button. To add a new device, display the device selection screen by pressing the [
  ] or [
  ] buttons and configure the setting. If you prefer not to display recent target devices, press the [MENU] button -> [
  ] tab -> [Wireless settings] -> [Wi-Fi Settings] -> [Target History] -> [Off].
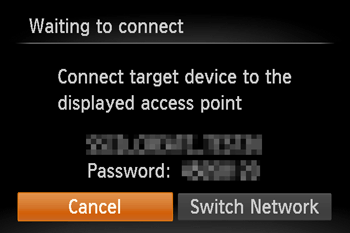
 ] or [
  ] buttons to choose the printer’s name, and then press the [
  ] button.
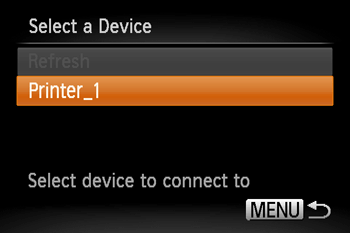
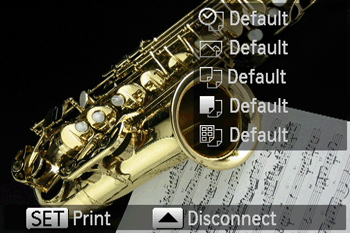
 ] or [
  ] buttons to choose the images you want to print, and then press the [
  ] button.

 ] or [
  ] buttons to choose [
  : Print ], and then press the [
  ] button.

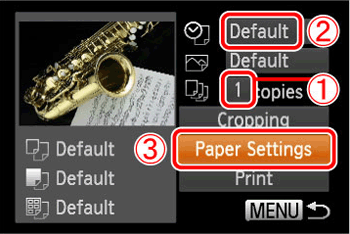
 ] or [
  ] buttons to choose (
  ), and then press the [
  ] or [
  ] buttons to make the setting.
 ] or [
  ] buttons to choose (
  ). Then, press the [
  ] or [
  ] buttons to make the setting.
  ]or [
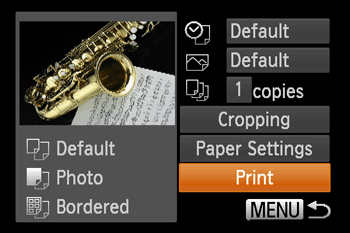
]or [  ] buttons to choose [Paper Settings] (
  ), and then press the [
  ] button.
 ] or [
  ] buttons to choose the paper size, and then press the [
  ] button.
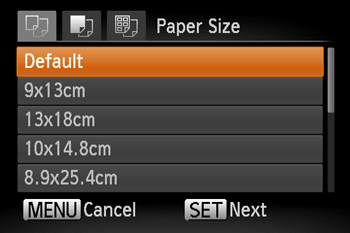
 ] or [
  ] buttons to choose the paper type, and then press the [
  ] button.
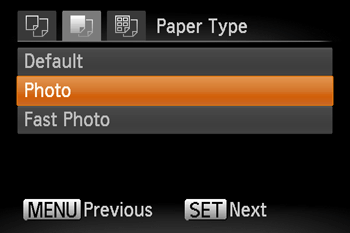
 ] or [
  ] buttons to choose a layout, and then press the [
  ] button.
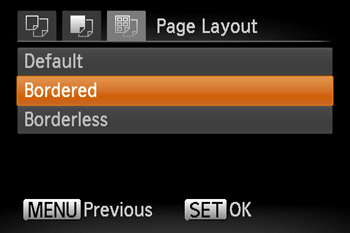
 ] or [
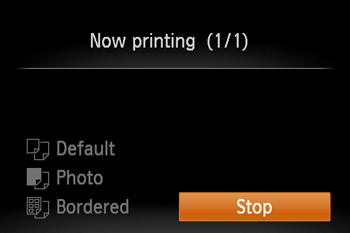
  ] buttons to choose [Print], and then press [
  ].
].